Table of Contents
- About
- RPI Boot Firmware
- CM5 Board eMMC
- CM5 Board Encrypted eMMC
- RPI 4 Encrypted SD Card With Debian 12
- Wireless Network: wpa_supplicant
- NMCLI
- Bootstrap
About
A lightweight, ARM-based system Raspberry Pi 4 eliminates distractions, reduce bloat, and enforce a minimalist, CLI-driven workflow that aligns with my core principles: automation, scripting, remote management.
- Offload workloads to cloud environments keeping my local setup minimal, secure, and under my full control.
- Low power consumption — run 24/7 with minimal electricity cost.
- Small enough to carry as a backup or travel dev machine.
- Managing encrypted boot, ZRAM, swap tuning, remote builds, and ARM-specific containers.
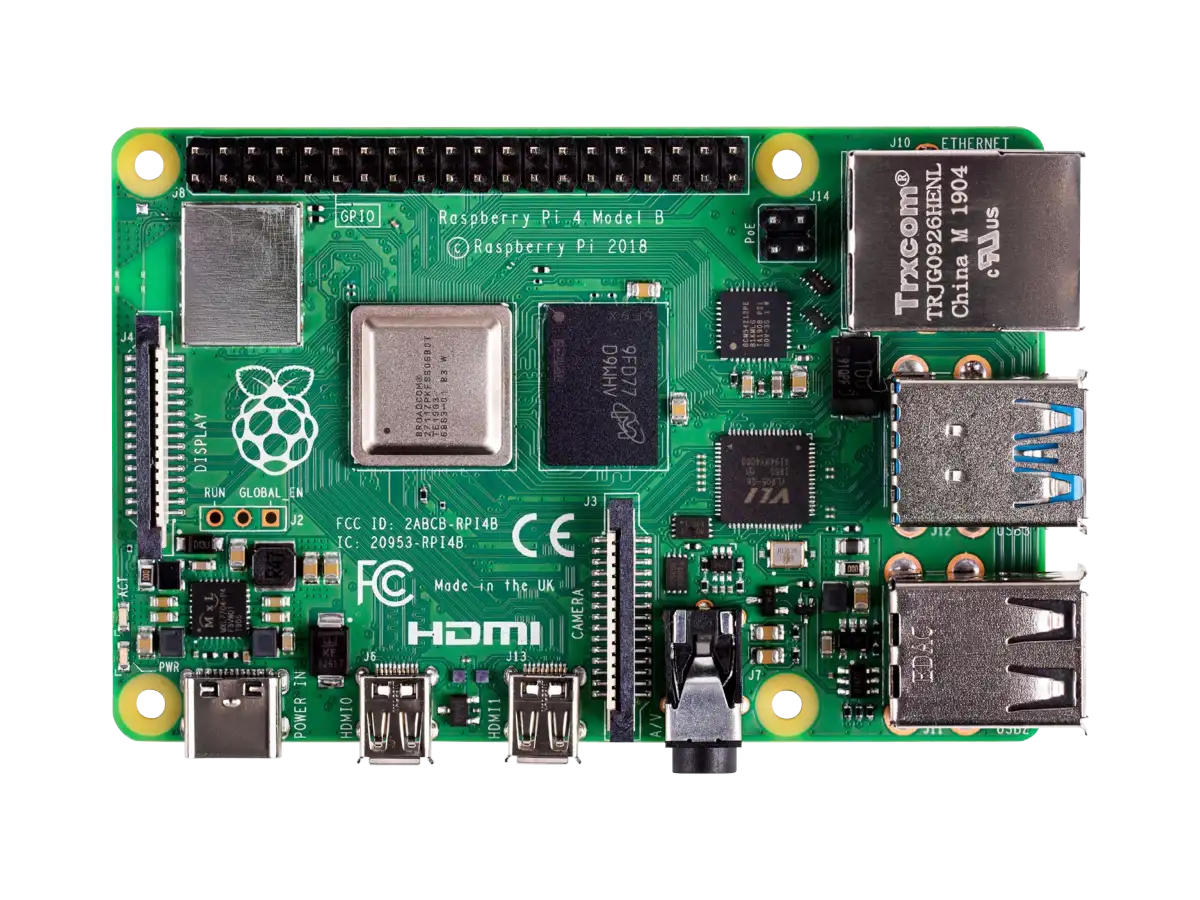
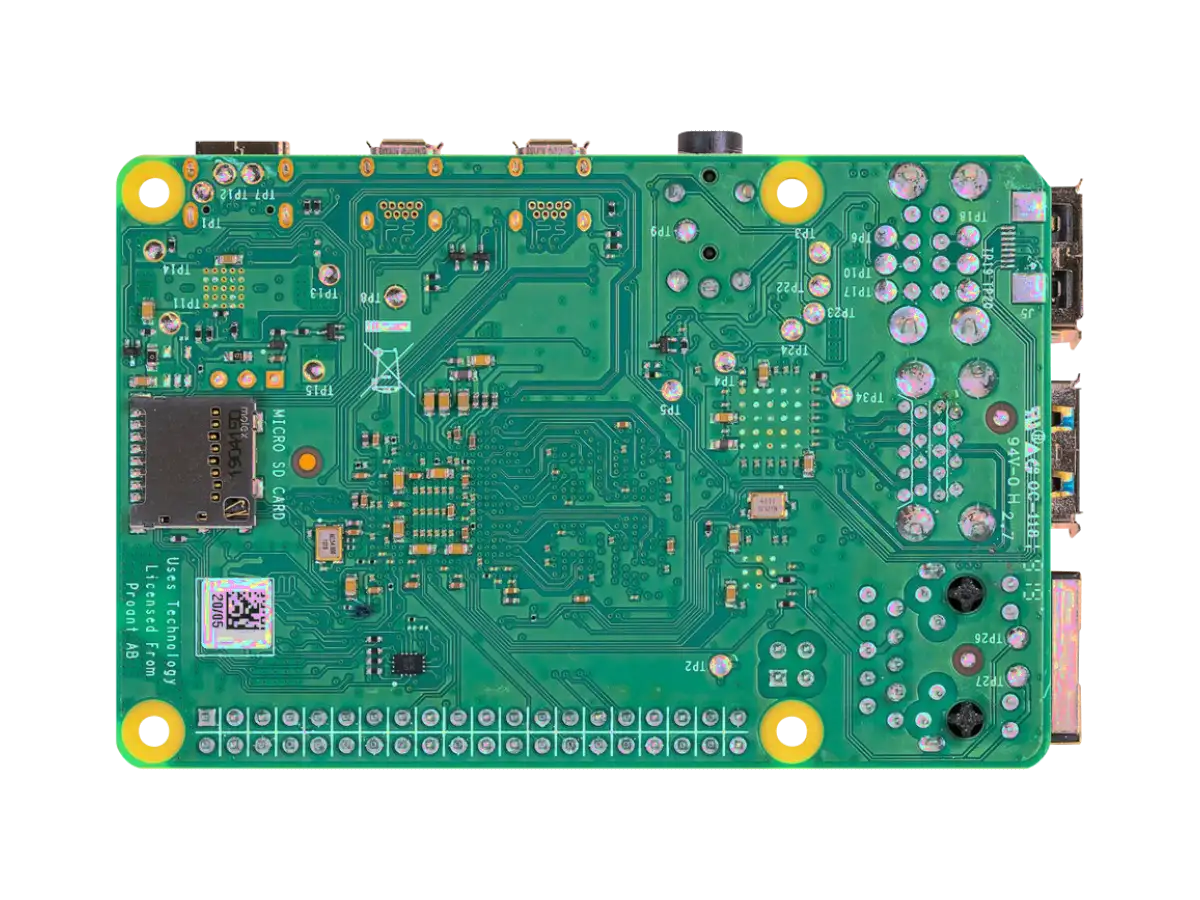
Raspberry Pi 4 Model B References:
RPI Boot Firmware
The "firmware" on Raspberry Pi plays a critical role in the boot process. It's a set of binary blobs (closed-source) that initialize the hardware and load the operating system.
The GPU firmware is closed and likely always will be due to Broadcom's policies.
Boot Sequence Overview on RPi4:
- BootROM inside the SoC, closed, hardcoded - looks for
bootcode.binon the SD card. bootcode.bininitializes the GPU and loadsstart4.elf.start4.elfparsesconfig.txt, initializes memory layout, then loadskernel8.img.kernel8.imgis loaded into RAM, and the ARM CPU is released to start executing it.
On early RPI models and on some Linux distributions RPI boot filenames can be without numeric suffix: start.elf, kernel.img.
The firmware files bootcode.bin, start4.elf, fixup.dat are closed-source because:
- It runs on the GPU (VideoCore IV), not the ARM CPU. The initial stages of the boot process run entirely on the VideoCore GPU, a proprietary Broadcom IP. This includes memory init, SD card init, HDMI setup, etc.
- Broadcom owns the GPU IP and SDK. Raspberry Pi is built around Broadcom SoCs (e.g., BCM2711). The GPU firmware relies on Broadcom’s proprietary libraries, which Raspberry Pi Ltd. is not allowed to open-source.
- Licensing and NDA restrictions. GPU drivers and firmware involve NDAs and licensed tools, which prevent redistribution or public access to source code.
Some components are partially open:
- The bootloader on Raspberry Pi 4/5 (in EEPROM) is open-source: https://github.com/raspberrypi/rpi-eeprom
- The Linux kernel and device tree after the firmware hands off control are open source.
- The userland firmware interface raspi-config, overlays, etc. are in open GitHub repos.
U-Boot can be used after the GPU firmware loads it. But even then, you still need the GPU firmware to load U-Boot.
RPi4 VPU reverse engineering is ongoing (slowly) via projects like vpu-tools, but they're far from complete.
Libre computing boards like Pine64, BeagleBone, or VisionFive offer better upstream and open firmware support.
CM5 Board eMMC
https://www.raspberrypi.com/documentation/computers/compute-module.html
SD card boot only used for CM5 without eMMC. On CM5-eMMC versions SDIO lines are wired to eMMC on the module.
You need 5V and minimum 900 mA to power CM5 board without NVMe disk. Peak loads required >4A with NVMe.
Use lsusb -v to see maximum power your laptop USB can supply.
cat /sys/bus/usb/devices/usb1/power/control
cat /sys/bus/usb/devices/usb1/power/level
sudo apt install git libusb-1.0-0-dev pkg-config build-essential
git clone --recurse-submodules --shallow-submodules --depth=1 https://github.com/raspberrypi/usbboot
cd usbboot
make
Please fit the
EMMC_DISABLE / nRPIBOOTjumper before connecting the power and USB cables to the target device. If the device fails to connect then please see https://rpltd.co/rpiboot for debugging tips.
ilyas@fiorina:usbboot(master)$ sudo ./rpiboot -d mass-storage-gadget
RPIBOOT: build-date 2025/12/21 pkg-version local c041bb57

Loading: mass-storage-gadget/bootfiles.bin
Using mass-storage-gadget/bootfiles.bin
Waiting for BCM2835/6/7/2711/2712...

Sending bootcode.bin
Successful read 4 bytes
Waiting for BCM2835/6/7/2711/2712...

Second stage boot server
File read: mcb.bin
File read: memsys00.bin
File read: memsys01.bin
File read: rp1c0fw1.bin
File read: memsys02.bin
File read: rp1c0fw2.bin
File read: memsys03.bin
File read: bootmain
Loading: mass-storage-gadget/config.txt
File read: config.txt
Loading: mass-storage-gadget/boot.img
File read: boot.img
Second stage boot server done
ilyas@fiorina:dev(master)$ lsusb | grep Raspberry
Bus 001 Device 041: ID 0a5c:0104 Broadcom Corp. Raspberry Pi multi-function USB device
Now your CM5 should appear as a mass storage device:
ilyas@fiorina:dev(master)$ lsblk
NAME                     MAJ:MIN RM   SIZE RO TYPE  MOUNTPOINTS
sdX                        8:0    1  14.6G  0 disk
Flash the eMMC.

Decompress and write to SD card:
xz -d 2025-12-04-raspios-trixie-arm64-lite.img.xz
sudo dd if=2025-12-04-raspios-trixie-arm64-lite.img of=/dev/sdX bs=4M status=progress
Check sda partitions created:
ilyas@fiorina:Downloads$ lsblk
NAME                     MAJ:MIN RM   SIZE RO TYPE  MOUNTPOINTS
sdX                        8:0    1  14.6G  0 disk
├─sdX1                     8:1    1   512M  0 part
└─sdX2                     8:2    1   2.3G  0 part
You can normally mount /dev/sdX1 and /dev/sdX2 partitions.
Disconnect USB-C slave port. Disconnect nRPI_BOOT from J2 (disable eMMC Boot) on the IO board jumper. Connect USB-C power and boot the CM5 from the new image you just wrote to eMMC.
Enjoy.
CM5 Board Encrypted eMMC
...
NOTE: On CM5 I created /boot/firmware directory to avoid error during initramfs-tools installation:
'/boot/initrd.img-6.12.47+rpt-rpi-v8' -> '/boot/firmware/initramfs8'
cp: cannot create regular file '/boot/firmware/initramfs8': No such file or directory
Find the card number your display is connected:
ls /sys/class/drm/card*
Should be card1-HDMI-A-1 or card1-HDMI-A-2.
cat /sys/class/drm/card1-HDMI-A-1/status
connected
CM5 Board X11 configuration /etc/X11/xorg.conf.d/rpi-cm5-board.conf:
Section "Device"
    Identifier "GPU0"
    Driver "modesetting"
    Option "kmsdev" "/dev/dri/card1"
EndSection
RPI 4 Encrypted SD Card With Debian 12
This chapter is about Debian 12 (Not Raspberry Pi OS!) encrypted installation as a base system.
SD Card Preparation
Use lsblk to get your SD card device path. Replace /dev/sdX with your actual device (e.g., /dev/sda or /dev/sdX).
If the device had a complex or conflicting previous layout, especially:
- LUKS encryption
- LVM
- ZFS or Btrfs with multiple partitions
- Previous GPT + MBR hybrid setups
Then you should wipe the device partitions to avoid any problems with your setup in future.
Step 1: Wipe all filesystem signatures (partitions and FS types):
sudo wipefs -a /dev/sdX
/dev/sdX: 8 bytes were erased at offset 0x00000052 (vfat): 46 41 54 33 32 20 20 20
/dev/sdX: 1 byte was erased at offset 0x00000000 (vfat): eb
/dev/sdX: 2 bytes were erased at offset 0x000001fe (vfat): 55 aa
Step 2: Overwrite the beginning of the disk to remove any residual partition data:
sudo dd if=/dev/zero of=/dev/sdX bs=512 count=2048 status=progress
2048+0 records in
2048+0 records out
1048576 bytes (1.0 MB, 1.0 MiB) copied, 0.170478 s, 6.2 MB/s
Step 3: Recreate the GPT label (optional but recommended for clean state):
sudo parted /dev/sdX mklabel gpt
Optional: Wipe GPT backup at end of disk:
SECTORS=$(sudo blockdev --getsz /dev/sdX)
sudo dd if=/dev/zero of=/dev/sdX bs=512 count=33 seek=$((SECTORS - 33)) status=progress
Alternative: The sgdisk --zap-all command is used to completely erase partition table information on a disk. Specifically, it removes GPT and MBR metadata, making the disk appear "unpartitioned" to partitioning tools.
sgdisk --zap-all /dev/sdX
Create Partitions
Create boot and root partitions:
sudo parted -a optimal /dev/sdX mkpart primary fat32 1MiB 256MiB
sudo parted -a optimal /dev/sdX mkpart primary ext4 256MiB 100%
sudo mkfs.vfat -F32 -n BOOT /dev/sdX1
LUKS Encryption
Setup LUKS and root FS:
sudo cryptsetup luksFormat /dev/sdX2
sudo cryptsetup open /dev/sdX2 rpi-sd-card
sudo mkfs.ext4 -L root /dev/mapper/rpi-sd-card
Mount encrypted SD card partition 2 to ${HOME}/mnt/rpi-sd-card mountpoint.
Mount boot SD card partition 1 to ${HOME}/mnt/rpi-sd-card-boot mountpoint.
Download And Unpack Debian Image
Download 20231109_raspi_4_bookworm.img.xz image from Tested images and unpack it.
wget https://raspi.debian.net/tested/20231109_raspi_4_bookworm.img.xz
xz -d 20231109_raspi_4_bookworm.img.xz
Use fdisk to see image partitions:
/sbin/fdisk -l 20231109_raspi_4_bookworm.img

Device                         Boot   Start     End Sectors  Size Id Type
20231109_raspi_4_bookworm.img1         8192 1048575 1040384  508M  c W95 FAT32 (LBA)
20231109_raspi_4_bookworm.img2      1048576 5119999 4071424  1.9G 83 Linux
Use parted to see image partitions:
/sbin/parted 20231109_raspi_4_bookworm.img unit B print

Number  Start       End          Size         Type     File system  Flags
 1      4194304B    536870911B   532676608B   primary  fat16        lba
 2      536870912B  2621439999B  2084569088B  primary  ext4
Only one partition can be mounted at the same time. You need to switch between
bootandrootpartitions bellow.
To mount a partition from source image you need to specify Start values from parted output as offsets in mount command:
mkdir -p ~/mnt/raspi-4-{boot,root}
sudo mount -o loop,offset=4194304 20231109_raspi_4_bookworm.img ${HOME}/mnt/raspi-4-boot
Copy Root Filesystem
Copy root filesystem from source image to SD card encrypted partition 2. Unmount ${HOME}/mnt/raspi-4-boot if it is mounted right now and mount second (root) partition of the source image:
sudo umount ${HOME}/mnt/raspi-4-boot
sudo mount -o loop,offset=536870912B 20231109_raspi_4_bookworm.img ${HOME}/mnt/raspi-4-root
Mount empty encrypted root filesystem if it is not mounted yet:
sudo mount /dev/mapper/rpi-sd-card ${HOME}/mnt/rpi-sd-card
Copy root / filesystem from Debian tested images to SD card encrypted partition:
sudo rm -r ${HOME}/mnt/rpi-sd-card/*
sudo rsync -aAXv --delete ${HOME}/mnt/raspi-4-root/ ${HOME}/mnt/rpi-sd-card/
Chroot And Configure Base System
Preparing a chroot means setting up an isolated filesystem environment so you can safely or effectively run commands as if you were inside another system, such as a new Linux install or a different architecture (with qemu).
The qemu-user-static package must be installed on your host Debian 12 system.
sudo apt install qemu-user-static
chrootstands for change root — it redefines / (root) for the current process.
Prepare chroot:
sudo mount -o bind /dev ${HOME}/mnt/rpi-sd-card/dev
sudo mount -o bind /sys ${HOME}/mnt/rpi-sd-card/sys
sudo mount -t proc proc ${HOME}/mnt/rpi-sd-card/proc
sudo cp /usr/bin/qemu-aarch64-static ${HOME}/mnt/rpi-sd-card/usr/bin/
sudo chroot ${HOME}/mnt/rpi-sd-card /bin/bash
OK. Now inside chroot, install important packages and set root password:
echo rpi-secure > /etc/hostname
apt-get update
apt install cryptsetup-initramfs initramfs-tools busybox
echo 'root:raspberry' | chpasswd
Please note that generating initramfs can take significant time - approx. 5-10 minutes depending on your SD card speed.
Add an entry to the /etc/crypttab file inside your chroot that tells target system to unlock an encrypted root partition on boot:
echo "rpiroot /dev/mmcblk1p2 none luks" >> /etc/crypttab
Write an /etc/fstab file from within the chroot environment, where the root filesystem is encrypted using LUKS. And the boot partition is separate, typically unencrypted and formatted as vfat.
Inside chroot, create /etc/fstab:
cat <<EOF > /etc/fstab
/dev/mapper/rpiroot / ext4 errors=remount-ro 0 1
/dev/mmcblk1p1 /boot vfat defaults 0 2
EOF
Regenerate all existing initramfs images (initial RAM filesystem images) for all installed kernels on your system:
update-initramfs -c -k all
Copy Boot Filesystem
Outside chroot.
Raspberry Pi does not use GRUB or traditional bootloaders — instead, the GPU bootloader loads firmware directly from the FAT32 /boot partition on the SD card.
Copy boot files from raspi-4 image:
sudo mount /dev/sdX1 ${HOME}/mnt/rpi-sd-card-boot
sudo cp -av ${HOME}/mnt/raspi-4-boot/* ${HOME}/mnt/rpi-sd-card-boot/
Add kernel and initrd image from your bootstrapped SD card partition:
sudo cp ${HOME}/mnt/rpi-sd-card/boot/vmlinuz-6.1.0-XX-arm64 ${HOME}/mnt/rpi-sd-card-boot/
sudo cp ${HOME}/mnt/rpi-sd-card/boot/initrd.img-6.1.0-XX-arm64 ${HOME}/mnt/rpi-sd-card-boot/
Modify kernel and initramfs parameters in ${HOME}/mnt/rpi-sd-card-boot/config.txt:
# Switch the CPU from ARMv7 into ARMv8 (aarch64) mode
arm_64bit=1
enable_uart=1
upstream_kernel=1
kernel=vmlinuz-6.1.0-XX-arm64
initramfs initrd.img-6.1.0-XX-arm64
Modify ${HOME}/mnt/rpi-sd-card-boot/cmdline.txt:
console=tty0 console=tty1,115200 root=/dev/mapper/rpiroot rw rootfstype=ext4 rootwait cryptopts=target=rpiroot,source=/dev/mmcblk1p2,luks init=/sbin/init debug
Unmount chroot filesystems and close encrypted partition:
sudo umount mnt/rpi-sd-card/dev
sudo umount mnt/rpi-sd-card/proc
sudo umount mnt/rpi-sd-card/sys
sudo umount mnt/rpi-sd-card
sudo cryptsetup close rpi-sd-card
sudo umount mnt/rpi-sd-card-boot
Insert your SD card in Raspberry PI 4 and enjoy encrypted root!
Frequent Mistakes
Wrong SD Card Block Device Number
On my Raspberry Pi 4 Model B the SD card reader is /dev/mmcblk1. On previous models it can be /dev/mmcblk0. If something goes wrong during boot process you will see correct block device identificator in kernel debug messages on screen.
On CM5 rev 1 16GB RAM + 16GB eMMC it was /dev/mmcblk0.
In that case you just need to poweroff your Raspberry Pi SBC: Mount boot partition and encrypted root partition as described upper. Chroot. Set correct block device identificator in /etc/crypttab and /etc/fstab files (root partition). Set correct block device identificator in cmdline.txt file (boot partition).
Don't forget to close encryted device using sudo cryptsetup close command after unmount encrypted root partition.
Failed Systemd Service Blocks Boot Process
If you see failed to start rpi-reconfigure-raspi-firmware.service error - poweroff your Raspberry Pi and. Mount encrypted root partition as described upper and chroot. Inside chroot disable rpi-reconfigure-raspi.firmware.service SystemD service.
Don't forget to close encryted device using sudo cryptsetup close command after unmount encrypted root partition.
LUKS Encription Boot Failed: Error Allocating Crypto TFM (-ENOENT)
Symptom: My CM5 eMMC boot process stucked. I pressed CTRL+C several times to get myself in (initramfs) shell. I failed to decrypt /dev/mmcblk0p2 with cryptsetup.
device-mapper: 254:0: crypt: Error allocating crypto tfm (-ENOENT)
device-mapper: ioctl: error adding target to table
device-mapper: reload ioctl on ... (254:0) failed: No such file or directory
TFM = crypto transformation (kernel crypto API).
It means the kernel cannot create a crypto transform for a block-device mapping. The dm-crypt asked the kernel for a cipher (e.g. aes-xts-plain64). The kernel could not provide it. Device-mapper target creation fails.
Check dm-crypt module is loaded:
lsmod | grep dm_crypt
Check what cipher dm-crypt is trying to use:
cryptsetup luksDump <device>
...
Data segments:
  0: crypt
        offset: 16777216
        length: (whole device)
        cipher: aes-xts-plain64
        sector: 512 [bytes]
...
Verify kernel supports it:
cat /proc/crypto
cat /proc/crypto | grep -A5 xts
If second command shows nothing, your kernel cannot do XTS mode.
Looks like you only have only have af_alg.ko.xz and algif_skcipher.ko.xz cipher modules installed. Check cipher modules exist in /lib/modules/$(uname -r)/kernel/crypto.
On CM5 Debian 13 Trixie I also need to create modules list for update-initramfs:
dm-crypt- core encryption moduleaes_generic- AES ciphergeniv&essiv- XTS mode, mandatory for disk encryptionsha512_generic- Hash for ESSIV / key derivation
cat /etc/initramfs-tools/modules
...
dm-crypt
aes_generic
geniv
essiv
sha512_generic
Wireless Network: wpa_supplicant
If firmware is missing Wi-Fi cannot work. Check firmware:
ls /lib/firmware/brcm/
...
brcmfmac43455-sdio.bin
brcmfmac43455-sdio.txt
ip link
Check the device is not blocked. If blocked - unblock:
rfkill list
rfkill unblock all
Bring wlan interface up:
ip link set wlan0 up
ip link show wlan0
If you dont have iw installed - you can not controll Wi-Fi manually.
sudo iw dev wlan0 scan | grep SSID
Create a WPA config:
wpa_passphrase "YOUR_SSID" "YOUR_PASSWORD" > ./wpa.conf
Or create a WPA config manually:
cat > ./wpa.conf <<EOF
ctrl_interface=/run/wpa_supplicant
update_config=0

network={
    ssid="YOUR_SSID"
    psk="YOUR_PASSWORD"
}
EOF
Start wpa_supplicant:
sudo iw reg set KZ
sudo wpa_supplicant -i wlan0 -c ./wpa.conf
ip addr show wlan0
ip route
If you don't see default route - DHCP did not install it. Fix it manually:
ip route add default via 192.168.1.1 dev wlan0 onlink
The onlink option means trust the gateway is directly reachable on this interface, even if no local route/subnet rule currently proves that.
NMCLI
nmcli networking on
nmcli radio wifi on
Bootstrap
The term "bootstrap" has its roots in the idea of "pulling yourself up by your bootstraps" — starting with almost nothing and building up to a fully working system. In computing, bootstrap refers to the process of initializing a system from a minimal starting state to a fully operational environment.
Install necessary tools:
sudo apt install debootstrap qemu-user-static binfmt-support
Mount target SD card root partition in ${HOME}/mnt/bootstrap.
Bootstrap:
sudo debootstrap --arch=arm64 --foreign bookworm ${HOME}/mnt/bootstrap http://deb.debian.org/debian
If you make mistake - you can clean up root filesystem and retry bootstrap. Exit chroot and unmount proc, dev and sys. Remove all files in ${HOME}/mnt/bootstrap/ directory and bootstrap again:
sudo umount -lf ${HOME}/mnt/bootstrap/{proc,sys,dev/pts,dev} 2>/dev/null
rm -rf ${HOME}/mnt/bootstrap/*
sudo debootstrap --arch=arm64 --foreign bookworm ${HOME}/mnt/bootstrap http://deb.debian.org/debian